
Your first quilt should give you enough repetition to learn without creating an exhausting pile of tiny pieces. Simple squares, strips, and larger units are useful starting points.
The projects below offer different routes into patchwork, from a charm-pack lesson to structured triangle practice. They are specific designs or guided quilt projects, not general inspiration galleries. Pick one construction you understand and let the fabric supply most of the visual excitement.
Beginner-friendly does not mean every technique is already explained in every pattern. Some designers assume you know how to baste, quilt, and bind after piecing the top. Others provide lessons across several posts or videos.
Read the whole project and follow the finishing links before cutting. A short pattern can still be a good choice, provided you know where to find help for the unfamiliar stages.
Keep your first plan small and achievable. A modest quilt is easier to maneuver through a domestic machine than a large bed quilt, and fewer blocks mean fewer opportunities for measurement errors to accumulate.
Avoid adding borders or changing block sizes immediately. Make the written version first, save notes about what worked, and remember that permission to sell finished quilts depends on each designer’s stated terms.
Quick picks at a glance
| # | Resource | License | Best for |
|---|---|---|---|
| 1 | Squared Quilt by Suzy Quilts | Free quilt pattern linked from the article | Practicing straight cuts with illustrated square-block assembly |
| 2 | Rail Fence by Suzy Quilts | Free Rail Fence guidance and pattern links on the page | Building seam consistency with repeated strip units |
| 3 | Your First Quilt by Melanie Ham | Free web lesson and embedded video tutorial | Following a charm-pack quilt lesson with practical layout advice |
| 4 | Rail Fence by SewCanShe | Free web tutorial; optional PDF and membership offers separate | Making a lap quilt from three contrasting one-yard cuts |
| 5 | Dot Dot Dash by SewCanShe | Free online instructions; optional PDF offered separately | Using mini charm squares in a repeated throw-quilt layout |
| 6 | Quilting With Triangles by WeAllSew | Free six-lesson series with downloadable lesson instructions | Learning several triangle units in a guided small quilt |
| 7 | Quick Rail Fence Baby Quilt by Diary of a Quilter | Free web tutorial with illustrated strip-piecing instructions | Practicing strip sets on a compact square quilt |
| 8 | Color Blocked Baby Quilt by Polka Dot Chair | Free web tutorial and project card | Arranging simple patchwork squares by color value |
| 9 | Simple Bricks by A Bright Corner | Free PDF; personal use only, as stated | Avoiding matched intersections with a fat-quarter quilt |
| 10 | Rail Fence by Fat Quarter Shop | Free downloadable layout and quilt-size guide | Choosing a strip-quilt size from crib through king |
Squared Quilt by Suzy Quilts
Quilt pattern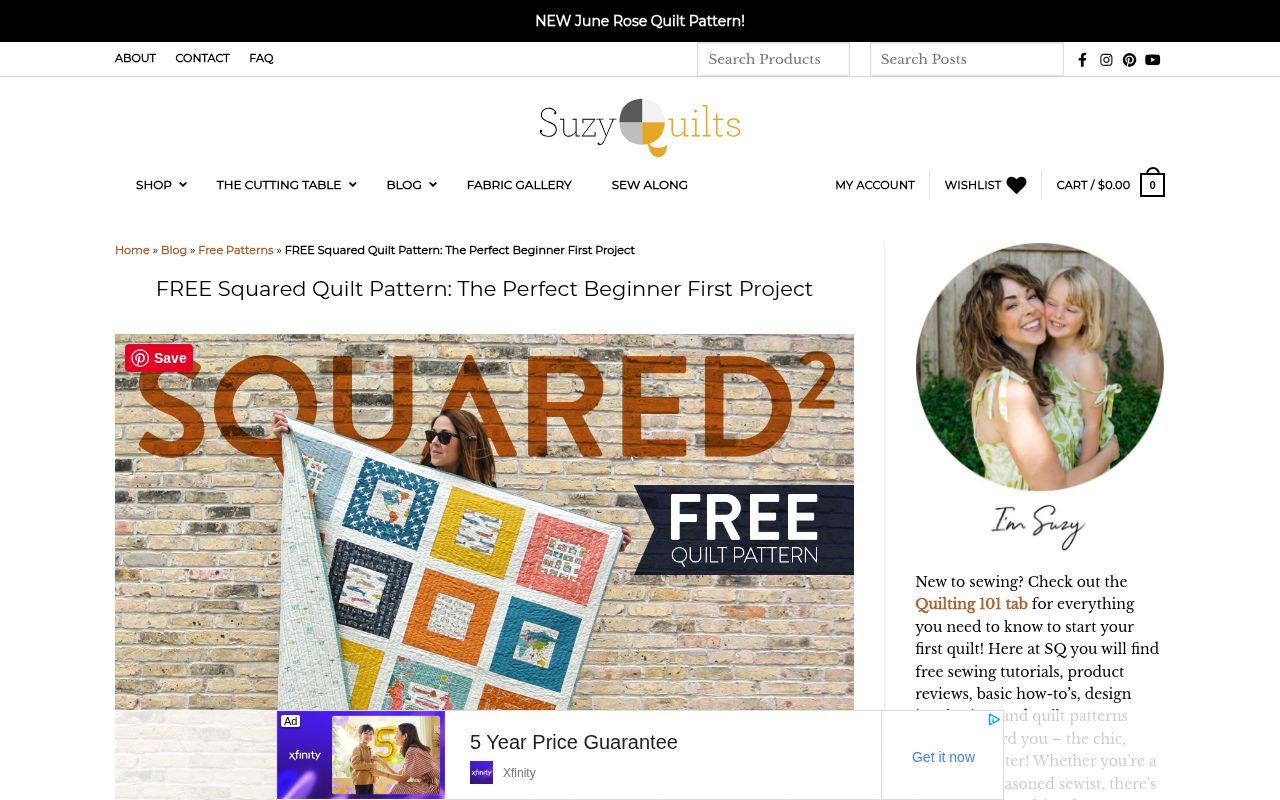
Squared is introduced as a first-time quilt pattern that uses straight cuts and straight seams. Suzy Quilts describes twelve-inch finished blocks and illustrates their assembly, giving a new quilter a clear repeated unit to learn.
The article suggests yardage, scraps, or fat quarters, so you can choose a fabric route that fits your supplies. Its transportation-themed sample is inspiration rather than the only possible look. Read the linked pattern before cutting and distinguish the free design from the unrelated paid patterns displayed elsewhere on the page.
- Type
- Quilt pattern
- Best for
- Practicing straight cuts with illustrated square-block assembly
- License
- Free quilt pattern linked from the article
- Price
- Free
Rail Fence by Suzy Quilts
Quilt pattern
Suzy Quilts uses Rail Fence to explain why repeated quarter-inch seams make useful beginner practice. The article discusses strip-based construction and identifies a jelly roll as a convenient supply option. Instead of depending on intricate points, the design creates movement through block orientation and fabric placement.
That gives you room to experiment after the basic units are sewn. Read the linked directions for the version you choose, especially if adding a border. The broader article also contains shopping links, which are separate from learning the free quilt construction.
- Type
- Quilt pattern
- Best for
- Building seam consistency with repeated strip units
- License
- Free Rail Fence guidance and pattern links on the page
- Price
- Free
Your First Quilt by Melanie Ham
Quilt pattern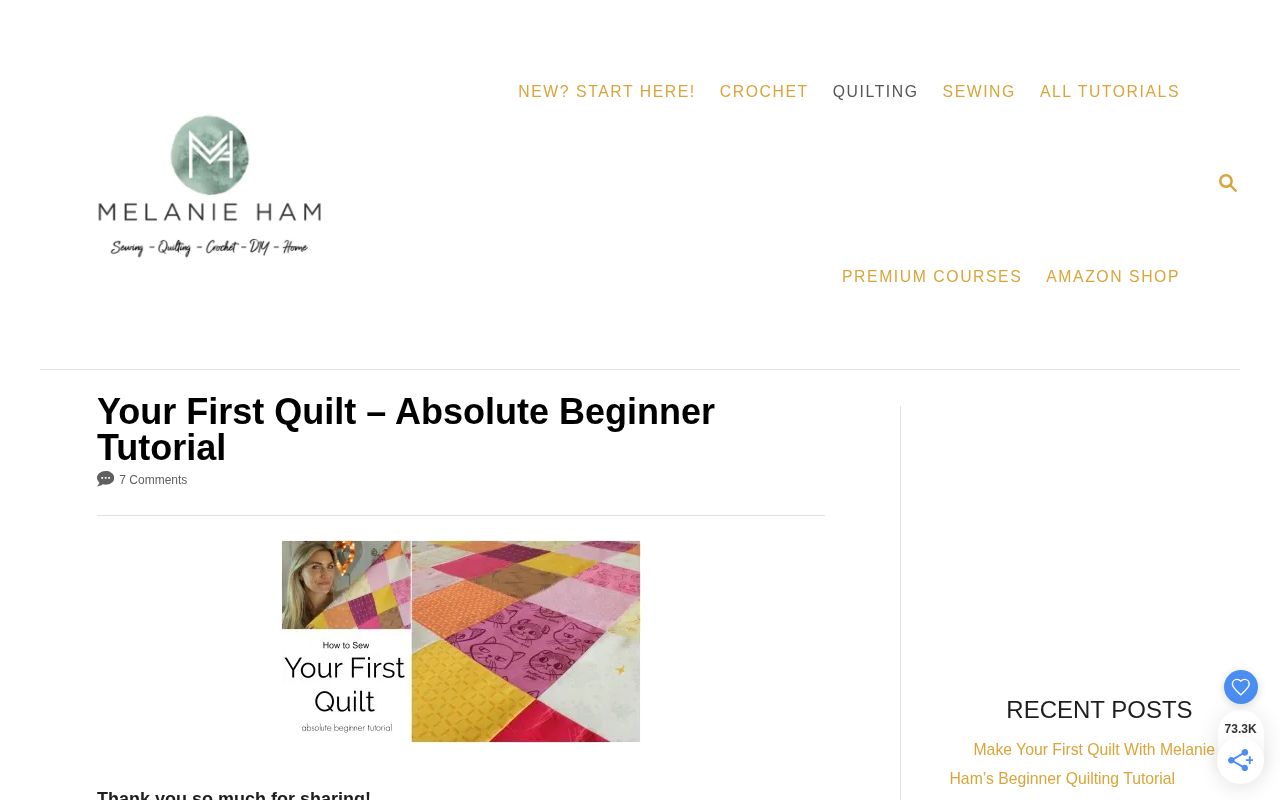
Melanie Ham starts Your First Quilt with five-inch charm squares, reducing the amount of cutting a new maker must manage. For a forty-two-piece pack, the lesson recommends a layout six squares wide and seven long. Photographs and video support the row-by-row assembly, including organizing stacks and using a quarter-inch seam.
Taking a picture of the layout is part of the practical advice. This page begins a series, so follow the later lessons for basting and finishing rather than mistaking a completed patchwork top for a completed quilt.
- Type
- Quilt pattern
- Best for
- Following a charm-pack quilt lesson with practical layout advice
- License
- Free web lesson and embedded video tutorial
- Price
- Free
Rail Fence by SewCanShe
Quilt pattern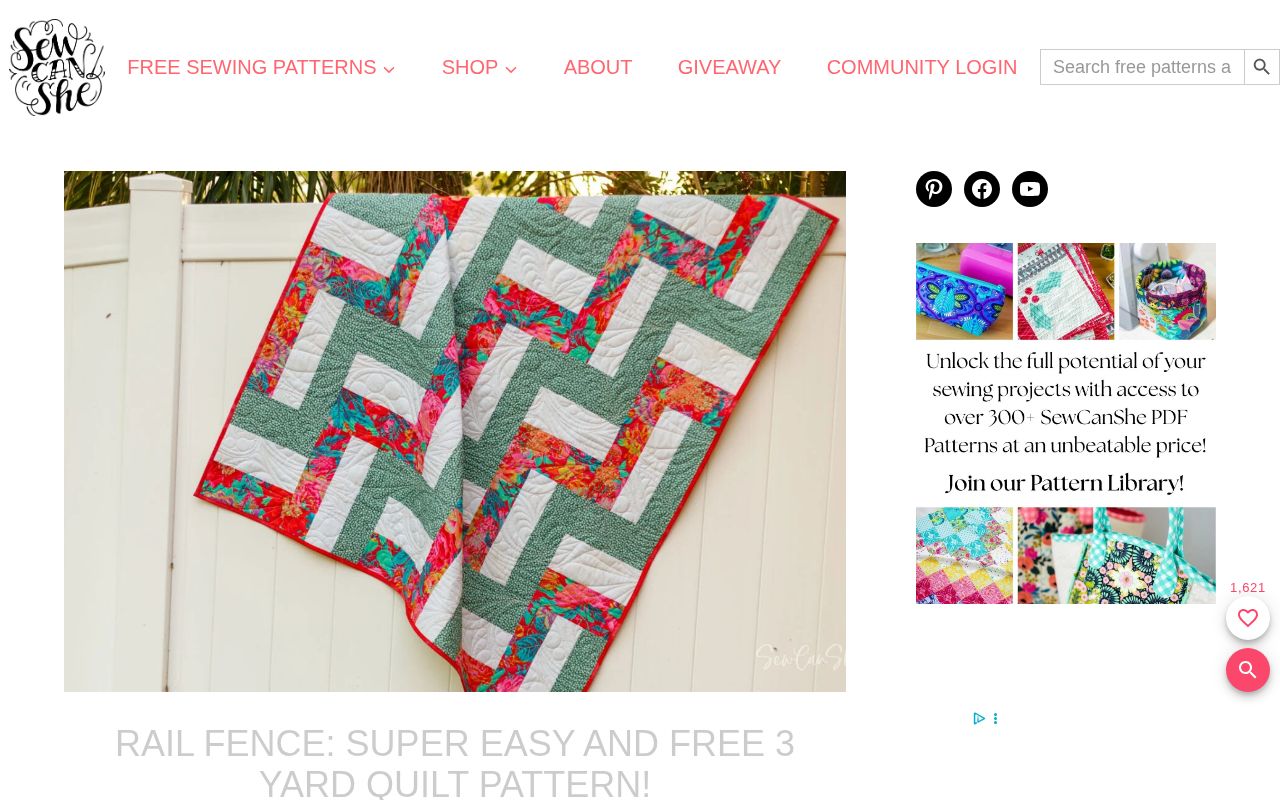
SewCanShe’s Rail Fence lap quilt finishes at fifty-four by sixty inches and uses three one-yard cuts for the top. Its strip-piecing approach produces two rectangular block arrangements, with thirty blocks in the finished layout. The tutorial is free to read and browser-print, while an optional PDF is offered separately.
Backing and binding require additional fabric, so the three-yard description is not a complete supply budget. This is a useful first larger project if you enjoy repeatable straight seams and want clear contrast between a small number of fabrics.
- Type
- Quilt pattern
- Best for
- Making a lap quilt from three contrasting one-yard cuts
- License
- Free web tutorial; optional PDF and membership offers separate
- Price
- Free
Dot Dot Dash by SewCanShe
Quilt pattern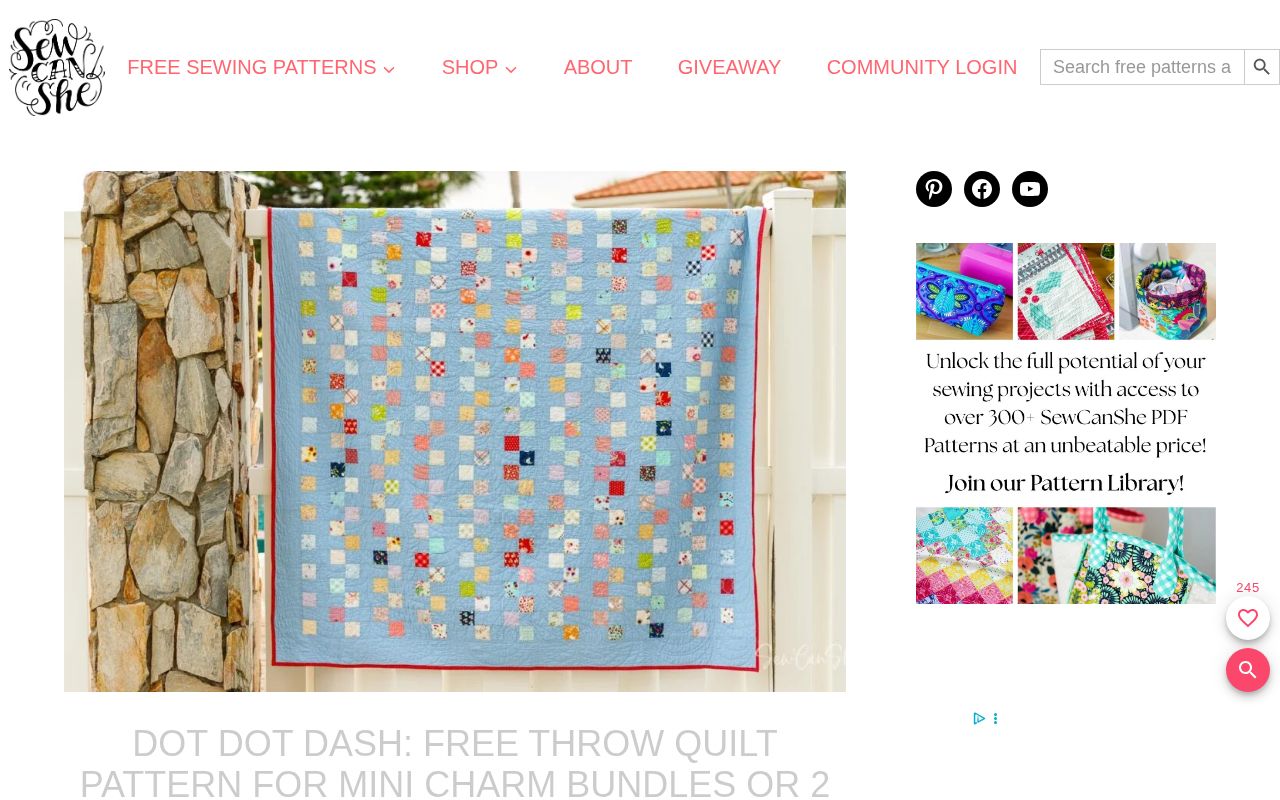
Dot Dot Dash turns mini charm squares into an approximately sixty-eight-inch square throw. The tutorial calls for seven mini charm bundles or equivalent two-and-a-half-inch squares, and it explains that ordinary charm squares can be subdivided. A separate background fabric gives the small prints breathing room.
The free web instructions can be printed through your browser; the optional PDF is a different access route. This quilt involves more repeated pieces than a basic charm-pack quilt, making it a sensible choice for a patient beginner rather than the fastest possible first finish.
- Type
- Quilt pattern
- Best for
- Using mini charm squares in a repeated throw-quilt layout
- License
- Free online instructions; optional PDF offered separately
- Price
- Free
Quilting With Triangles by WeAllSew
Quilt pattern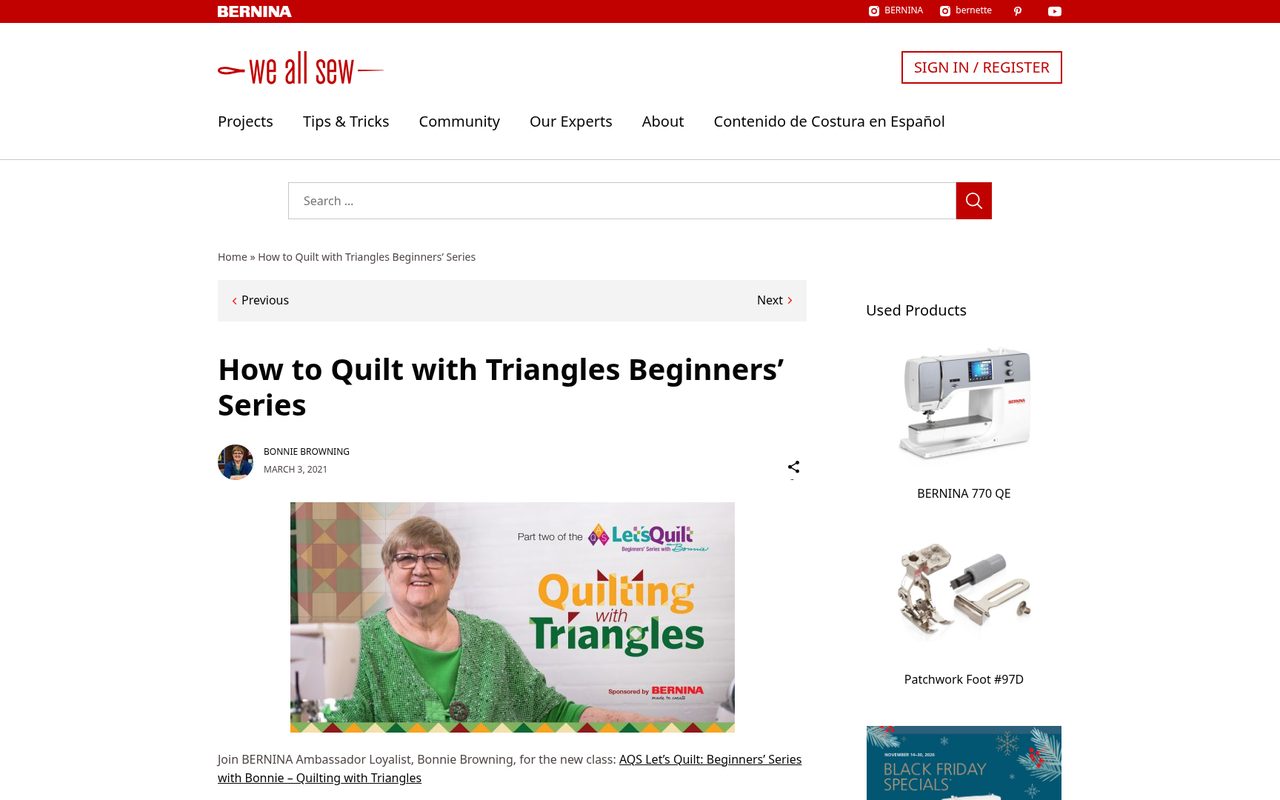
WeAllSew’s Quilting With Triangles series makes a thirty-six-inch square quilt through six lessons. Bonnie Browning introduces half-square triangles, quarter-square triangles, and flying geese using five fabrics with different values. The page links downloadable instructions for each lesson, letting you break the project into manageable sessions.
It is a more structured learning project than plain patchwork, and it asks you to practice several unit types. Review the materials lesson first, then keep the lessons in order so the cutting plan and later block assembly remain connected.
- Type
- Quilt pattern
- Best for
- Learning several triangle units in a guided small quilt
- License
- Free six-lesson series with downloadable lesson instructions
- Price
- Free
Quick Rail Fence Baby Quilt by Diary of a Quilter
Quilt pattern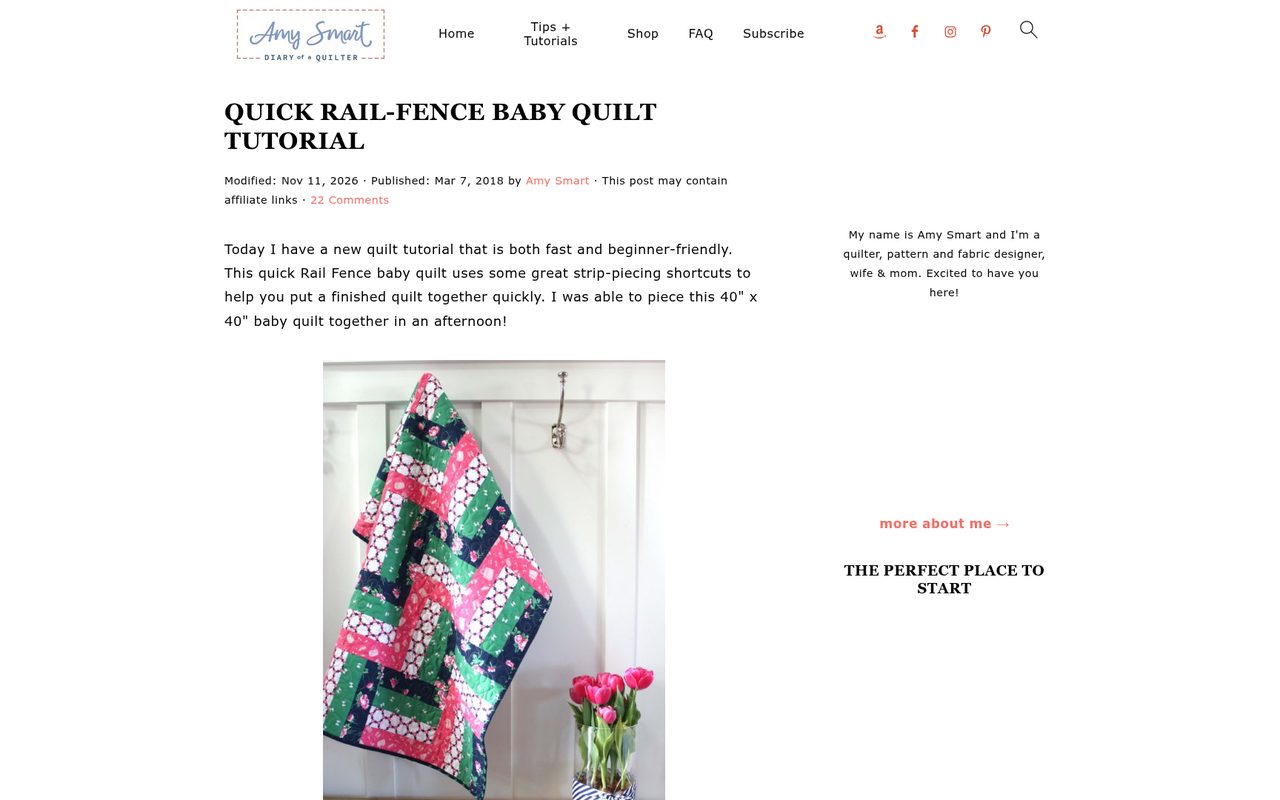
Amy Smart’s Quick Rail Fence tutorial makes a forty-inch square quilt from strip-pieced units. The materials list specifies half a yard of four prints, plus separate binding and backing quantities. You cut two-and-a-half-inch width-of-fabric strips, then arrange them into repeated sets.
The illustrated strip-piecing steps explain how the units develop before becoming the quilt layout. This compact project makes a useful introduction to managing long seams. Read the linked strip-piecing advice before sewing all the sets, especially if your previous strips have developed a curve or bow.
- Type
- Quilt pattern
- Best for
- Practicing strip sets on a compact square quilt
- License
- Free web tutorial with illustrated strip-piecing instructions
- Price
- Free
Color Blocked Baby Quilt by Polka Dot Chair
Quilt pattern
Polka Dot Chair’s Color Blocked Baby Quilt uses straightforward patchwork squares arranged from darker to lighter colors. The introduction discusses five-inch precut stacks, and the project card also supplies cutting alternatives using fat quarters. That flexibility helps you work with color value rather than complicated blocks.
Read the complete supply card before buying because precut descriptions and alternative cutting plans need to be interpreted together. The web tutorial includes links to basic cutting, pressing, and finishing guidance, making this a practical option for someone who wants a visually planned quilt without triangles.
- Type
- Quilt pattern
- Best for
- Arranging simple patchwork squares by color value
- License
- Free web tutorial and project card
- Price
- Free
Simple Bricks by A Bright Corner
Quilt pattern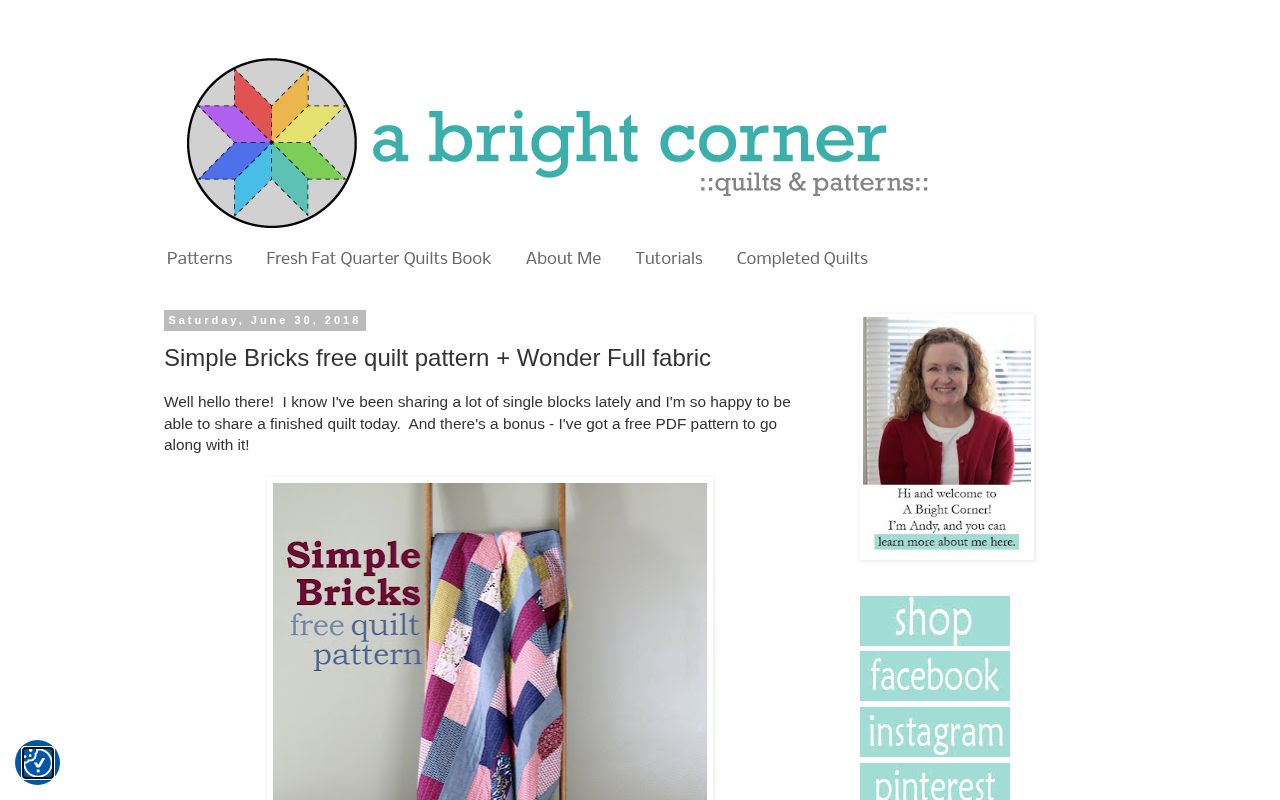
Simple Bricks is a free PDF pattern for a sixty-three by seventy-two-inch quilt. A Bright Corner specifies eleven fat quarters and just over a yard of background fabric for the top. The design avoids tricky piecing and seams that must match, giving new quilters a forgiving alternative to a tightly aligned grid.
The publisher explicitly requests personal use only and asks shops to direct customers to the original download page. Its larger throw size requires more quilting space than a baby project, but the block construction itself stays approachable.
- Type
- Quilt pattern
- Best for
- Avoiding matched intersections with a fat-quarter quilt
- License
- Free PDF; personal use only, as stated
- Price
- Free
Rail Fence by Fat Quarter Shop
Quilt pattern
Fat Quarter Shop’s Rail Fence guide provides layouts in crib, lap, large lap, twin, queen, and king sizes. The blog explains the classic strip-block construction and links a free size guide for six-inch finished blocks. Two-and-a-half-inch strips make the project jelly-roll friendly, although you should confirm the quantities for your chosen size before shopping.
The article also discusses strip-set shortcuts rather than requiring every little rectangle to be handled separately. Begin with one of the smaller layouts if this is your first experience managing a layered quilt under a domestic machine.
- Type
- Quilt pattern
- Best for
- Choosing a strip-quilt size from crib through king
- License
- Free downloadable layout and quilt-size guide
- Price
- Free
Choose a first quilt you can finish
The best first quilt pattern uses squares, rectangles or strips, with few points to match. A baby or lap size finishes in a few weekends and still teaches every step: cutting, piecing, basting, quilting and binding. Bigger quilts can wait until those steps feel familiar.
Pick fabrics you love but don't treasure. Quilting cotton in medium weight presses well and behaves predictably under the machine. Avoid stretchy knits, slippery satins and very loose weaves for a first project, since they shift while cutting and make accurate seams harder.
Practice the quarter-inch seam
Almost every quilt pattern assumes a quarter-inch seam allowance. A patchwork foot with a guide makes this easier, but a strip of painter's tape on the machine bed works too. Sew three strips together, press, and measure: the middle strip should be exactly the width the math predicts.
If your test strip comes out narrow, your seam is too wide. Many quilters aim for a scant quarter inch, a thread or two narrower, because the fold of the pressed seam uses up a little fabric. Small adjustments here make blocks fit together without stretching or easing.
Cut and press with care
A rotary cutter, ruler and self-healing mat are the core tools for beginner quilts. Always cut away from your body, close the blade after every cut, and keep your fingers on the ruler well away from its edge. Straighten the fabric edge first so every strip starts square.
Press seams rather than ironing them. Lift and press the iron straight down instead of sliding it, which keeps strips from stretching into curves. Follow the pattern's pressing directions, because seams pressed in opposite directions nest together and help corners line up neatly.
Quilt in straight lines with a walking foot
Once the top is pieced, layer it with batting and backing and baste the three layers with pins or spray. Smooth the backing taut and tape it to a table or floor first, so it cannot pucker underneath while you stitch.
A walking foot feeds all three layers evenly, which makes straight-line quilting manageable on a home machine. Start in the middle and work outward, following seams or marked lines spaced about two inches apart. Lengthen your stitch slightly so the lines look crisp and stay flexible.
Finish with machine binding
Double-fold binding cut at two and a half inches suits most beginner quilts. Join strips on the diagonal so seams spread out, press the binding in half lengthwise, and stitch it to the front with a quarter-inch seam, mitering each corner as you go.
Many first-time quilters fold the binding to the back and stitch it by machine for speed and durability. A hand-finished binding looks invisible from the front, but a neat machine finish holds up to frequent washing. Both are perfectly good choices for a first quilt.