
Changing pillow covers and cushion fabrics can refresh a room without replacing the inserts you already own. These free projects range from uncomplicated envelope backs to invisible zippers, piping and pieced quilt blocks. Most focus on removable covers, with one round stuffed cushion included for a different shape.
You do not always need a full-size paper pattern for home sewing projects built from squares and rectangles. Several sources provide cutting formulas tied to the insert; others publish printable templates or a multi-size pattern. Check whether the project produces a cover, a quilted top or a complete stuffed pillow before gathering materials.
Think about washing and everyday use before choosing the prettiest detail. An envelope opening avoids hardware, a zipper keeps the back continuous and piping adds another layer at the edge. Patchwork can use small remnants beautifully, but accurate piecing and quilting take longer than sewing a single-fabric front.
Quick picks at a glance
| # | Resource | License | Best for |
|---|---|---|---|
| 1 | Heather Handmade Envelope Pillow Cover | Free tutorial; commercial-use permission not established on the project page | Starting with a simple removable cover |
| 2 | AppleGreen Cottage Single Piece Envelope Cover | Free instructions; no redistribution or commercial-use license stated on the project page | Practicing four straight seams without hardware |
| 3 | OnlineFabricStore Piped Envelope Pillow | Free tutorial; commercial-use permission not established on the project page | Adding corded edges without a zipper |
| 4 | The Project Lady Invisible Zipper Piped Cover | Free tutorial; commercial-use permission not established on the project page | Combining lining, piping and a hidden closure |
| 5 | Hello Sewing Zippered Pillow with Piping | Free tutorial; commercial-use permission not established on the project page | Watching piping and zipper placement |
| 6 | Sewfinity Patchwork Pillow Cover | Free tutorial; commercial-use permission not established on the project page | Making hardware-free covers with fabric ties |
| 7 | Treasurie Envelope Cushion with Piping | Free tutorial; commercial-use permission not established on the project page | Following a straightforward piping sequence |
| 8 | House of Gossamer Piped Envelope Cover | Free tutorial; commercial-use permission not established on the project page | Planning contrasting piping and backing |
| 9 | Ellis and Higgs Simple Quilted Pillow | Free tutorial; commercial-use permission not established on the project page | Learning split-square-triangle patchwork |
| 10 | Cluck Cluck Sew Sprocket Pillows | Personal use and small-quantity finished-item sales permitted; do not repost templates | Trying circular cushions and wedge piecing |
Heather Handmade Envelope Pillow Cover
Envelope cover tutorial
Heather’s envelope pillow cover is a beginner project with an optional flange, letting you choose between a plain edge and a decorative border. The tutorial discusses quilting cotton, flannel, canvas and home-decor fabrics instead of prescribing one particular print.
It also explains her preference for a fuller insert and addresses stretching in lightweight fabric. That fabric-and-fit guidance makes the page more useful than a bare cutting diagram. Follow the instructions for the version you choose, since a flange changes the relationship between the outer dimensions and the area occupied by the pillow form.
- Type
- Envelope cover tutorial
- Best for
- Starting with a simple removable cover
- License
- Free tutorial; commercial-use permission not established on the project page
- Price
- Free
AppleGreen Cottage Single Piece Envelope Cover
Envelope pillow cover tutorial
Damjana Jakos builds this envelope pillow cover from one piece of fabric, folding it so the front and back share the same print. The construction needs four straight seams and avoids buttons and zippers entirely, making it an approachable first home sewing project.
An overlapping opening on the reverse lets you remove the insert when the cover needs washing. The complete tutorial is free online; an optional printer-friendly PDF is sold separately. That paid file reformats the instructions for printing rather than supplying essential pattern pieces unavailable in the blog lesson.
- Type
- Envelope pillow cover tutorial
- Best for
- Practicing four straight seams without hardware
- License
- Free instructions; no redistribution or commercial-use license stated on the project page
- Price
- Free online; optional paid printable PDF
OnlineFabricStore Piped Envelope Pillow
Envelope cover with piping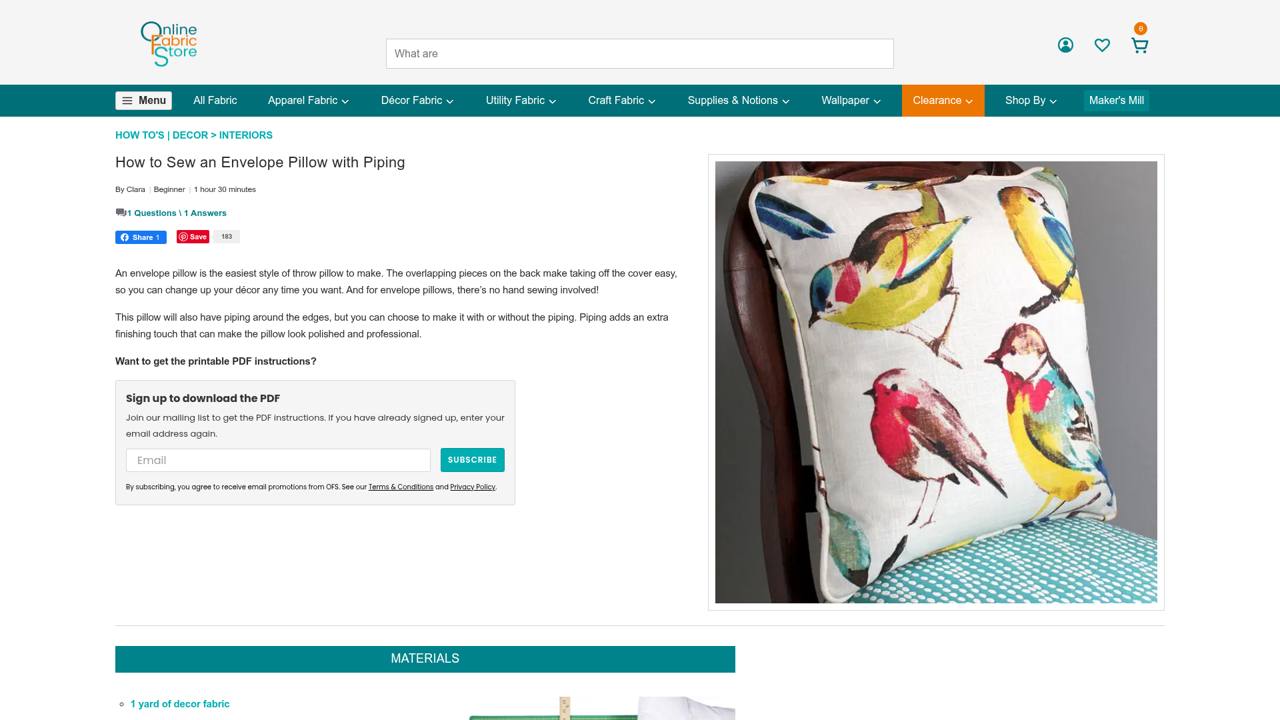
Clara’s Maker’s Mill tutorial combines an overlapping envelope back with optional piping around the perimeter. The page labels the project beginner level and gives an estimated making time of one and a half hours. Cutting formulas relate the front and back pieces to your pillow form, with a sixteen-inch example illustrating the calculations.
It also explains how the cord size affects the piping strip width. The web instructions are free, and the page offers printable PDF instructions. A zipper foot appears in the tools list for stitching close to the cord, despite the cover itself having no zipper.
- Type
- Envelope cover with piping
- Best for
- Adding corded edges without a zipper
- License
- Free tutorial; commercial-use permission not established on the project page
- Price
- Free
The Project Lady Invisible Zipper Piped Cover
Lined zippered cushion tutorial
The Project Lady shows a lined pillow cover with piping and an invisible zipper, motivated by the need for removable covers on down-filled forms. Instructions begin by measuring across the pillow’s center from seam to seam and adding allowance before cutting matching outer and lining squares.
The tools list emphasizes a zipper foot, while edge finishing can be done with a serger or a regular machine’s overcast stitch. This is a useful step beyond an unlined envelope cover because several finishing elements are handled together. The construction directions are available directly in the illustrated post.
- Type
- Lined zippered cushion tutorial
- Best for
- Combining lining, piping and a hidden closure
- License
- Free tutorial; commercial-use permission not established on the project page
- Price
- Free
Hello Sewing Zippered Pillow with Piping
Video cushion-cover tutorial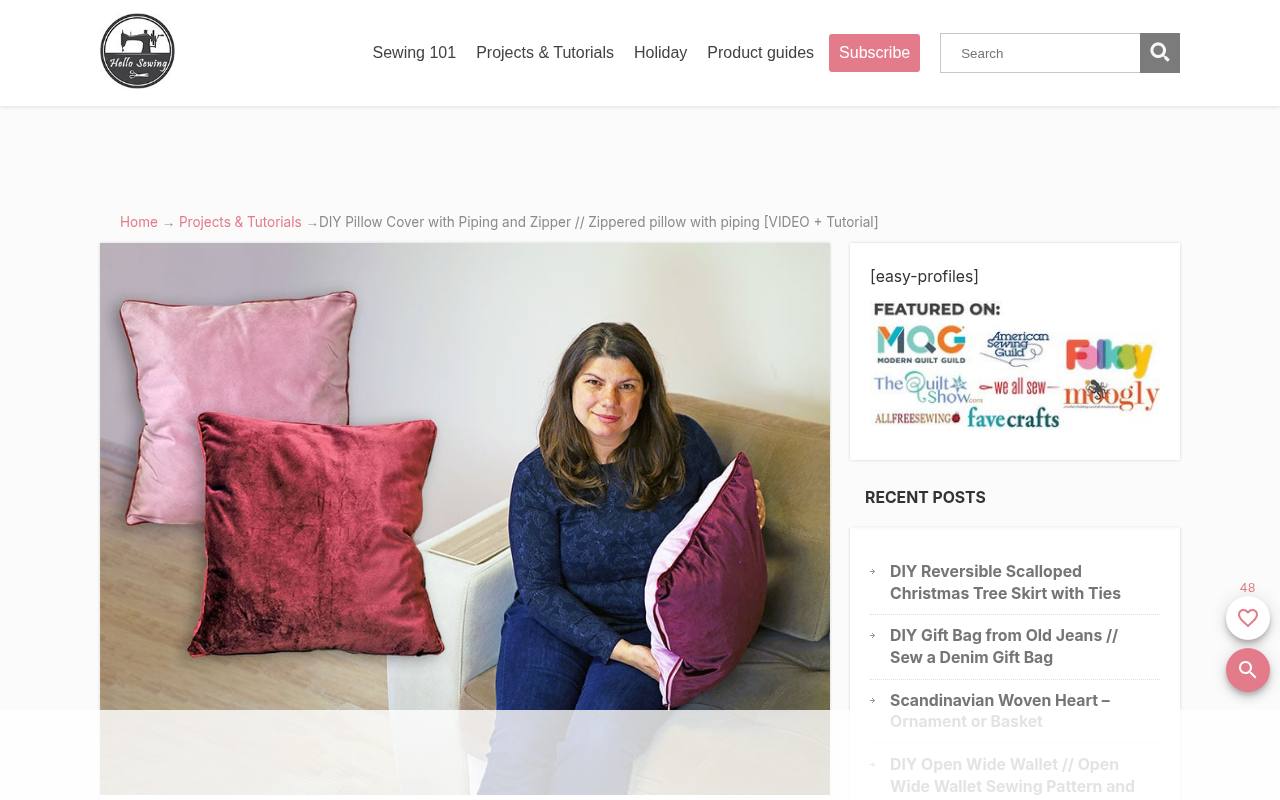
Hello Sewing pairs written construction steps with a video for a pillow cover that combines piping and an invisible zipper. Its supply list gives specific panel dimensions in inches and centimeters, plus an eighteen-inch zipper and the required piping length. This is a worked project rather than an open-ended collection of pillow sizes.
Instructions begin with finishing selected raw edges before attaching the trim. The video-and-text format suits sewists who want to watch the assembly sequence before returning to individual written steps. Use its supplied measurements consistently instead of mixing them with another tutorial’s seam allowances.
- Type
- Video cushion-cover tutorial
- Best for
- Watching piping and zipper placement
- License
- Free tutorial; commercial-use permission not established on the project page
- Price
- Free
Sewfinity Patchwork Pillow Cover
Multi-size patchwork cover pattern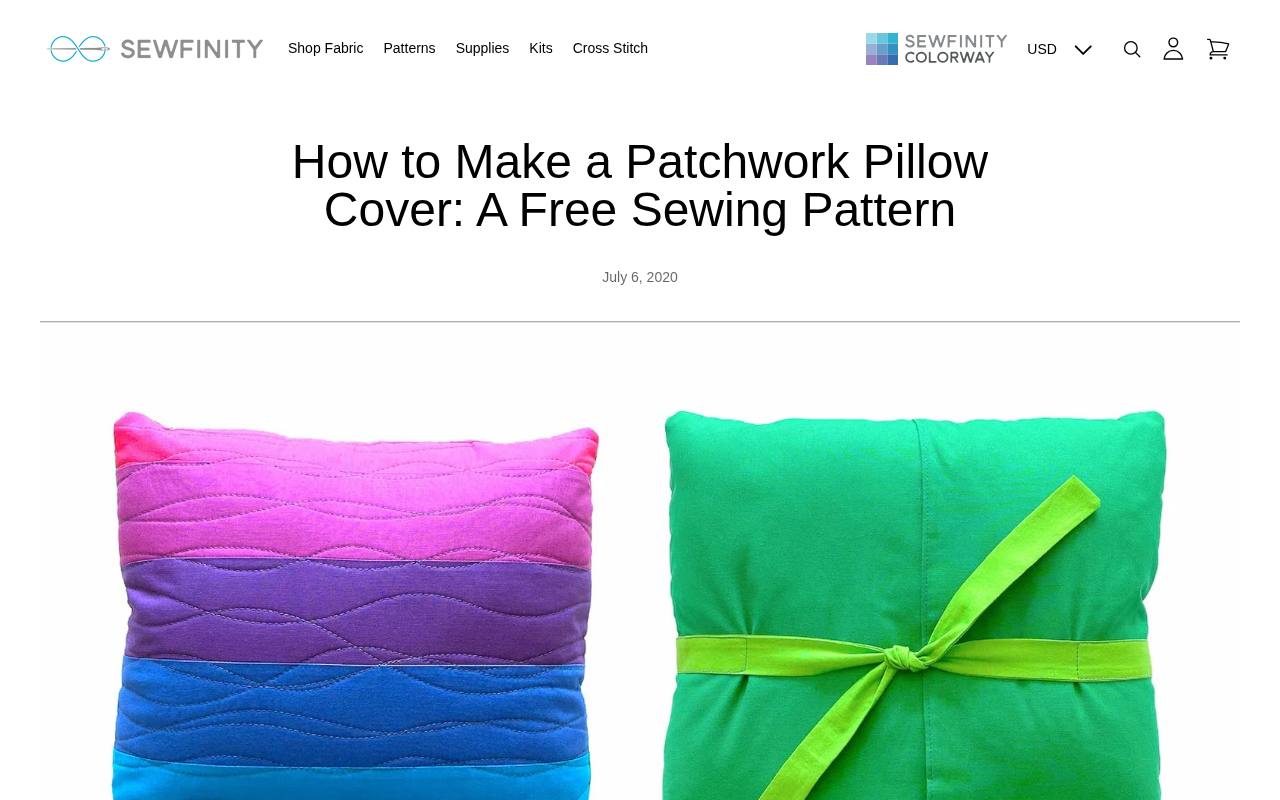
Sewfinity’s Patchwork Pillow Cover offers six sizes and the math for adapting the design to other inserts. The back can close with regular, long or wide fabric ties, or hook-and-loop tape. The front may be quilted patchwork, unquilted patchwork or a single fabric piece, so you can adapt it to a leftover block rather than piecing an entirely new one.
The page highlights enclosed raw edges and a method intended to prevent floppy corners. It introduces the free sewing pattern and explains its variations; ties are the distinctive alternative here to the usual zipper or envelope opening.
- Type
- Multi-size patchwork cover pattern
- Best for
- Making hardware-free covers with fabric ties
- License
- Free tutorial; commercial-use permission not established on the project page
- Price
- Free
Treasurie Envelope Cushion with Piping
Measured piped cushion tutorial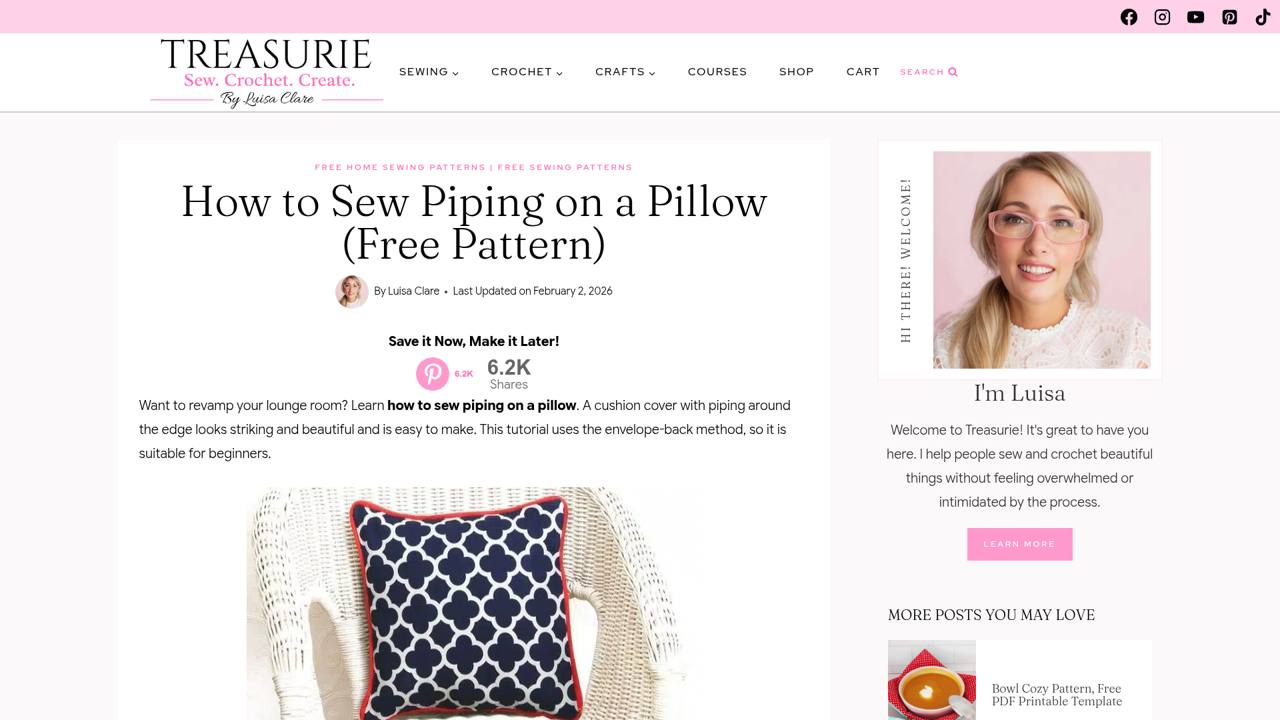
Luisa Clare’s tutorial uses an envelope-back construction to keep the closure simple while teaching a corded edge. The free instructions set out the sequence clearly: hem the back pieces, attach piping to the front, assemble the cover, then clip and turn.
Medium-weight decorator fabric or quilting cotton is recommended, and the supplies include both a regular presser foot and a zipper foot for piping. Cutting measurements are calculated from the insert rather than supplied as a full-size paper template. You can use purchased piping or make your own from cord and fabric strips.
- Type
- Measured piped cushion tutorial
- Best for
- Following a straightforward piping sequence
- License
- Free tutorial; commercial-use permission not established on the project page
- Price
- Free
House of Gossamer Piped Envelope Cover
Decorative envelope cushion tutorial
House of Gossamer frames the piped envelope pillow as a traditional decorative project and shows a version with contrasting back and piping fabric. The materials list separates essentials from optional tools, including an inner fabric layer, piping foot and heavier needles for thick combinations.
Its discussion favors medium-weight fabrics and gives practical context for judging fabric weight before sewing. This is useful when you already have a decorative remnant but are unsure whether it will behave like a lightweight quilting cotton or a bulky upholstery cloth. The project instructions are published as a free web tutorial.
- Type
- Decorative envelope cushion tutorial
- Best for
- Planning contrasting piping and backing
- License
- Free tutorial; commercial-use permission not established on the project page
- Price
- Free
Ellis and Higgs Simple Quilted Pillow
Patchwork envelope pillow tutorial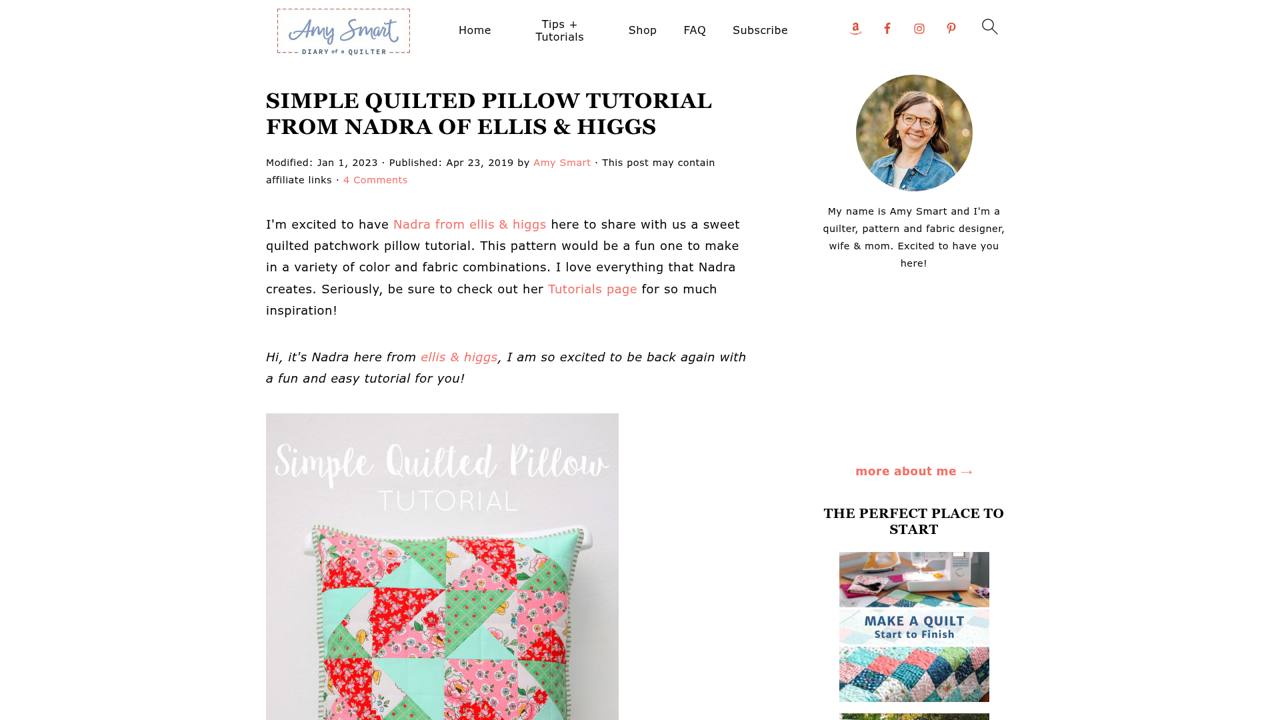
Nadra of ellis & higgs contributes this split-square-triangle pillow tutorial to Diary of a Quilter. The patchwork units are a variation on half-square triangles, with fabric placement offering several possible looks. The stated finished measurement is sixteen and a half inches square, and the supply list calls for a sixteen-inch insert, batting, binding and fabric for an envelope closure.
Several fat eighths and fat quarters supply the patchwork components. Cutting and construction information appear in the guest post, making this a more involved quilting lesson than a single-fabric cover while still producing a manageable home accessory.
- Type
- Patchwork envelope pillow tutorial
- Best for
- Learning split-square-triangle patchwork
- License
- Free tutorial; commercial-use permission not established on the project page
- Price
- Free
Cluck Cluck Sew Sprocket Pillows
Round patchwork cushion pattern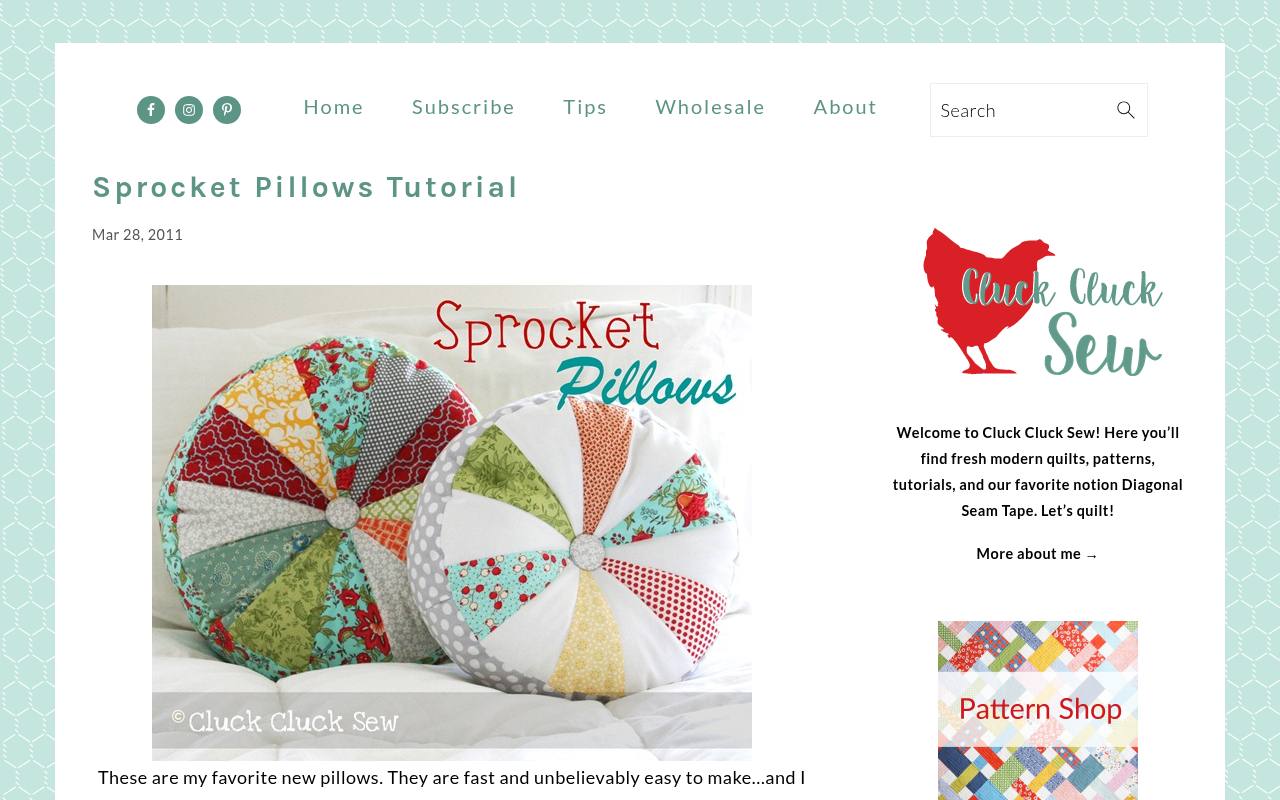
Allison Harris’s Sprocket Pillows use twelve fabric wedges, a side band and a center button to make round stuffed cushions. The creator supplies templates in two sizes and links a newer printable pattern from the original photographed tutorial.
Unlike the removable covers elsewhere here, these are stuffed pillow projects requiring filling rather than a standard square insert. The center button covers the meeting point of the wedges, making imperfect alignment less conspicuous. Cluck Cluck Sew’s tutorial policy permits personal sewing and items sold in small quantities; it does not authorize reposting the pattern templates.
- Type
- Round patchwork cushion pattern
- Best for
- Trying circular cushions and wedge piecing
- License
- Personal use and small-quantity finished-item sales permitted; do not repost templates
- Price
- Free
Measuring the insert and choosing the fit
Measure the pillow insert seam to seam across its center, and compare that measurement with the label rather than relying on the label alone. Older inserts may have flattened or become uneven. For rectangular cushions, record width and height separately and mark the intended fabric direction before cutting.
Distinguish cut size from finished size when reading a tutorial. Some designers add seam allowances to the insert dimensions; others deliberately make a snugger cover for a plump appearance. Use the selected pattern’s complete formula instead of adding allowance twice or importing a sizing rule from a different project.
Giving envelope backs enough overlap
A comfortable envelope overlap keeps the insert from peeking through when someone leans on the cushion. The back pieces must cover the front area plus their hems and the overlap specified by the instructions. Hem the opening edges first, then lay the pieces over the front to verify placement.
If a finished opening gapes, a larger insert is not always the right cure. Review the back-panel measurements, fabric stretch and amount of overlap instead. Reinforce the points where the hemmed edges meet the side seams, because removing the cover repeatedly puts extra stress on those short intersections.
Attaching piping neatly around corners
Baste piping to the front panel before attaching the back so you can control one operation at a time. Use a zipper or piping foot that lets you stitch near the cord without pushing it sideways. Follow the project’s corner method rather than forcing a stiff cord into a sharp turn.
For a smooth piping join, plan the meeting point on an inconspicuous straight edge and avoid stacking cord ends on top of each other. Check the right side after the final seam for visible basting or loose sections. Correct those areas before trimming allowances and turning the cover permanently outward.
Choosing fabrics and preparing patchwork
Medium-weight woven fabrics are a practical starting point for sofa cushions, while softer quilting cotton suits pieced designs. Consider comfort against skin as well as appearance. A beautiful coarse upholstery remnant may work as an accent but feel unpleasant on a cushion used for afternoon naps.
Prepare fabrics according to their care needs and test contrasting colors for bleeding. With quilted pillow fronts, allow extra fabric and batting for quilting shrinkage, then square the panel to its final dimensions. Keep seam allowances consistent when piecing so the completed block fits the cover rather than requiring improvised trimming.
Washing, finishing and selling handmade covers
Finish vulnerable raw seam edges with a suitable zigzag, overcast stitch, serging or the enclosed method supplied by the pattern. Keep thick allowances clear of zipper teeth and test the cover on its actual insert before calling it finished. Include fabric-appropriate care instructions when giving it as a gift.
Before selling finished cushions, look for an explicit small-business or finished-item sales policy from the designer. Free instructions are not a public-domain declaration, and permission to sell sewn objects does not permit sharing the PDF or copying tutorial photographs.
Record any attribution requirements and ask the creator when the published terms leave your intended use unclear.